Peanut Chicken Wraps

Make easy Peanut Chicken Wraps with tender chicken, creamy peanut sauce, and crunchy vegetables. Ready in 15 minutes for a tasty lunch!
10 min
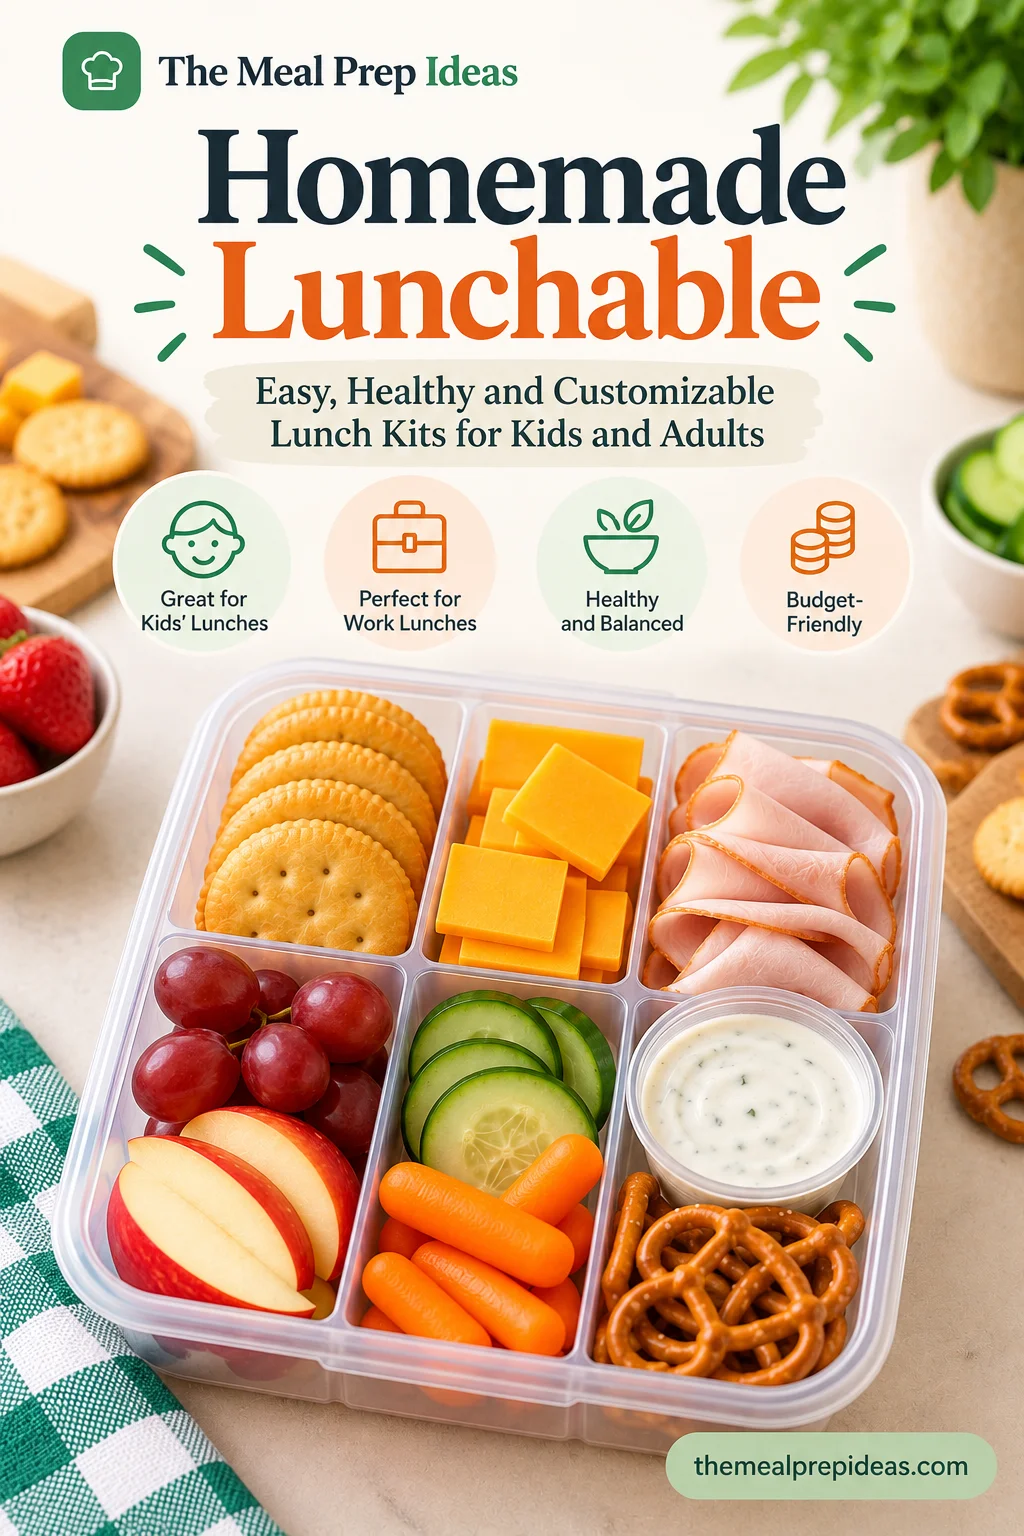
Make a Homemade Lunchable with crackers, cheese, protein, fresh fruit, and veggies. Easy, budget-friendly lunch ideas for kids and adults!
 Sarah Bennett· Meal Prep Expert & Recipe DeveloperSeptember 8, 2026
 5
Ask your favorite AI assistant to summarize this recipe, suggest swaps, or scale it up — one click away.
We copy the prompt to your clipboard too — just paste (Ctrl/Cmd+V) if it doesn't appear automatically.
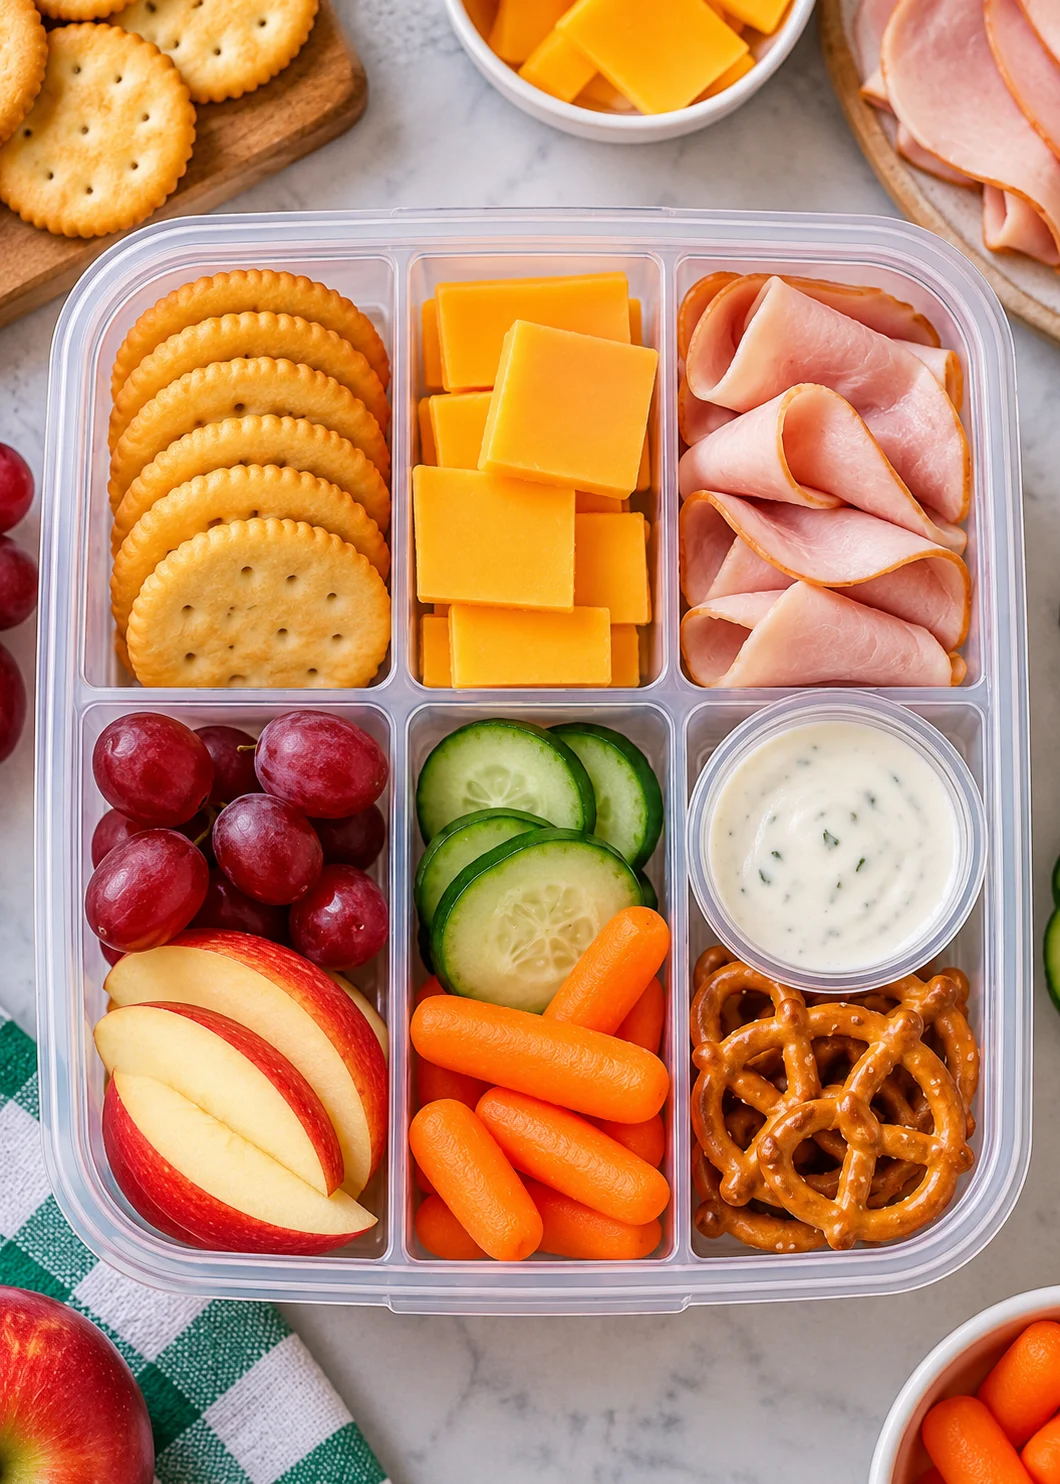
A Homemade Lunchable is an easy way to make lunch at home without buying pre-packed lunch kits. You can mix and match crackers, cheese, protein, fresh fruit and vegetables to create a meal that fits your taste and budget. These lunch kits work well for kids’ school lunches and adults’ work lunches. They are simple to prepare, easy to pack and fun to customize. Whether you need easy lunch ideas for kids or practical lunch ideas for work, you’ll find tasty combinations, meal prep tips, budget-friendly ideas and storage advice in this guide.
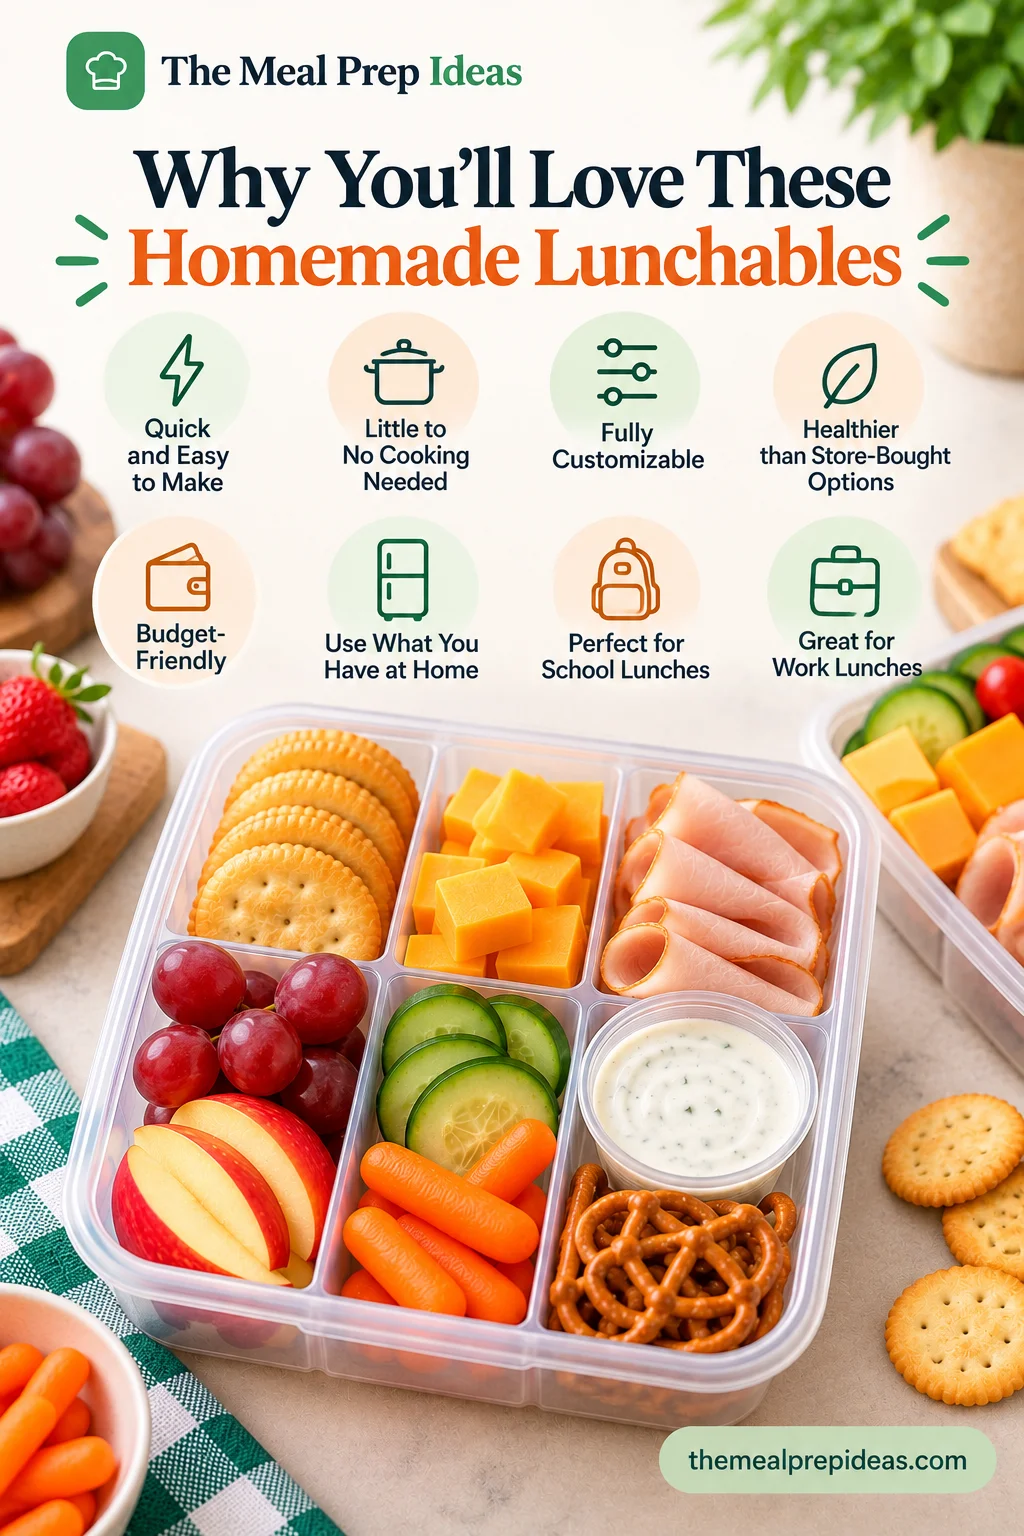
These lunch kits are quick to put together and need little to no cooking. You can choose your favorite crackers, cheese, meat, fruits and vegetables to make a lunch everyone enjoys. They also give you more control over the ingredients and portion sizes than many store-bought options. Use leftover cheese, cooked chicken, or sliced fruit to create budget-friendly lunch ideas without buying special ingredients. You don’t need fancy containers or expensive foods, either. Just use what you already have in your fridge and pantry. These easy lunch ideas are perfect for school, work, or a grab-and-go meal when you need something simple and filling.
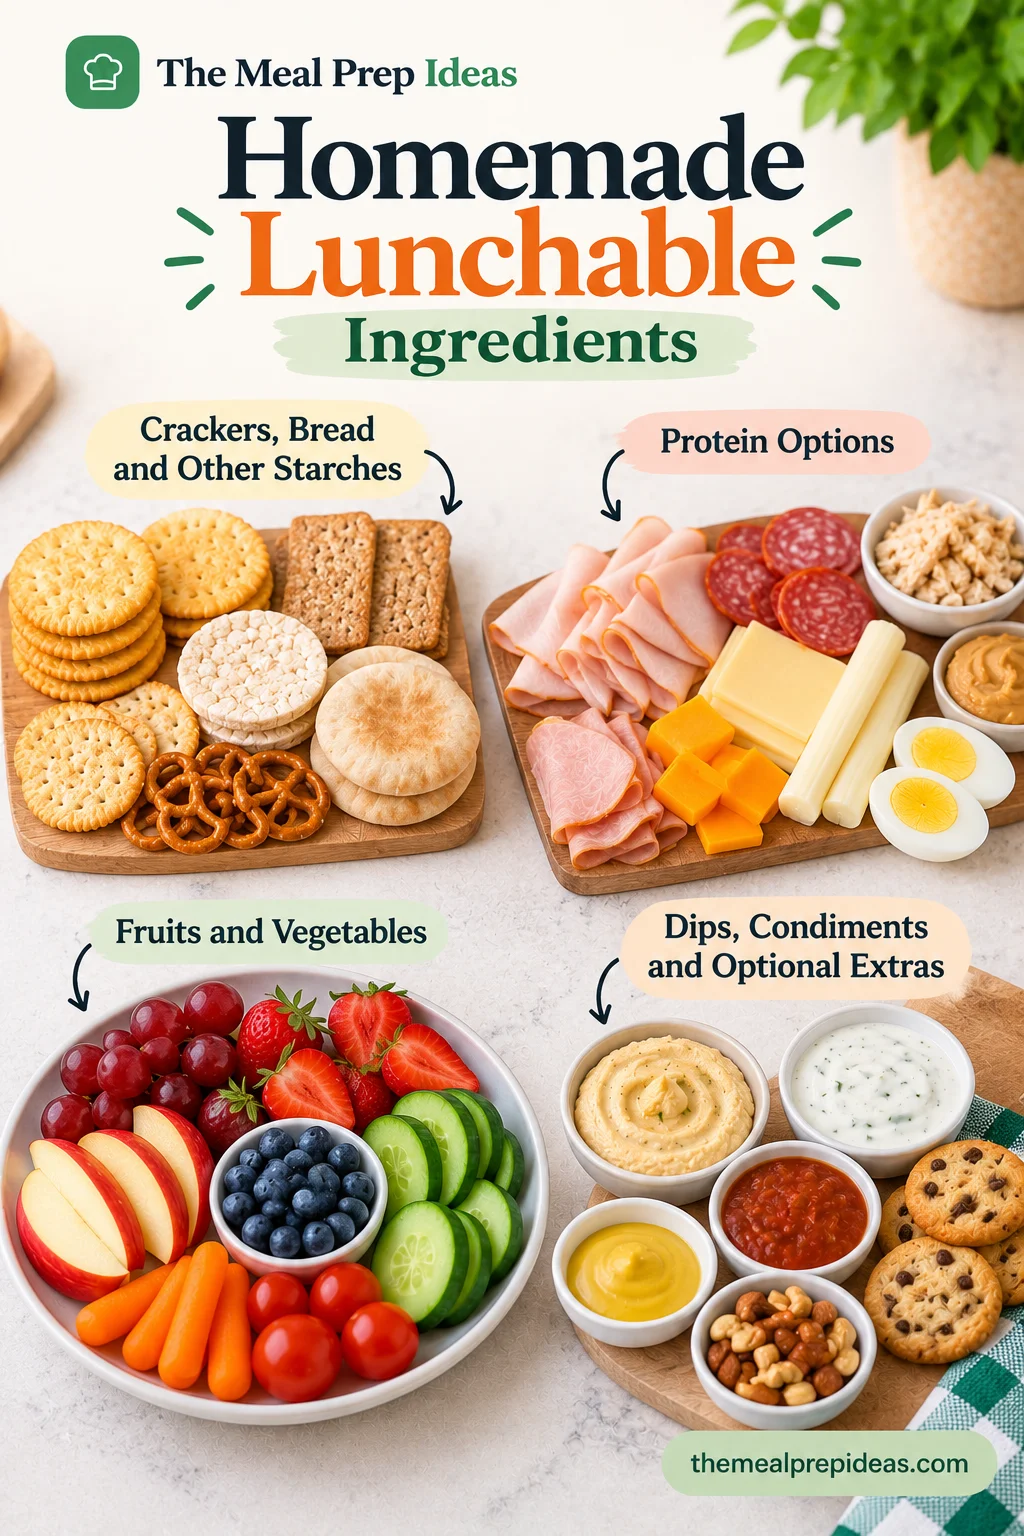
The best part of making a Homemade Lunchable is that you can mix and match ingredients based on what you have at home. You don’t need to buy special foods. A few simple items can make a tasty, balanced lunch for kids or adults.
Start with a crunchy or soft base. Whole-grain crackers, wheat crackers, saltine crackers and rice crackers are easy choices. You can also use pita bread, mini pita, mini buns, tortillas, or pretzels. Whole grains add fiber and help make your lunch more satisfying. For a classic crackers and cheese lunch, pack crackers in a separate compartment so they stay crisp.
Add sliced turkey, deli ham, salami, pepperoni, or cooked chicken. Leftover chicken is a great way to use food you already have. Cheese, such as cheddar, mozzarella, or string cheese, is another easy option. For a meat-free lunch, try hard-boiled eggs, hummus, or nut or seed butter, depending on your needs and any school allergy rules. These choices help turn a simple snack box into a protein-rich lunch. For another convenient protein option, Hard-Boiled Eggs are easy to prepare ahead and pack alongside crackers, cheese, fruit, and vegetables.
Choose easy-to-pack fresh fruit and vegetables, such as apple slices, grapes, strawberries, blueberries, baby carrots, cucumber slices, cherry tomatoes, or snap peas. Use seasonal produce when possible to save money. To keep apple slices from browning, toss them with a little lemon juice.
Add hummus dip, ranch dip, yogurt dip, mustard, or salsa in small, leak-proof containers. A few nuts or seeds can provide healthy fats if they are safe and suitable for your needs. You can also include a small dessert, such as a homemade cookie, for a fun finishing touch.
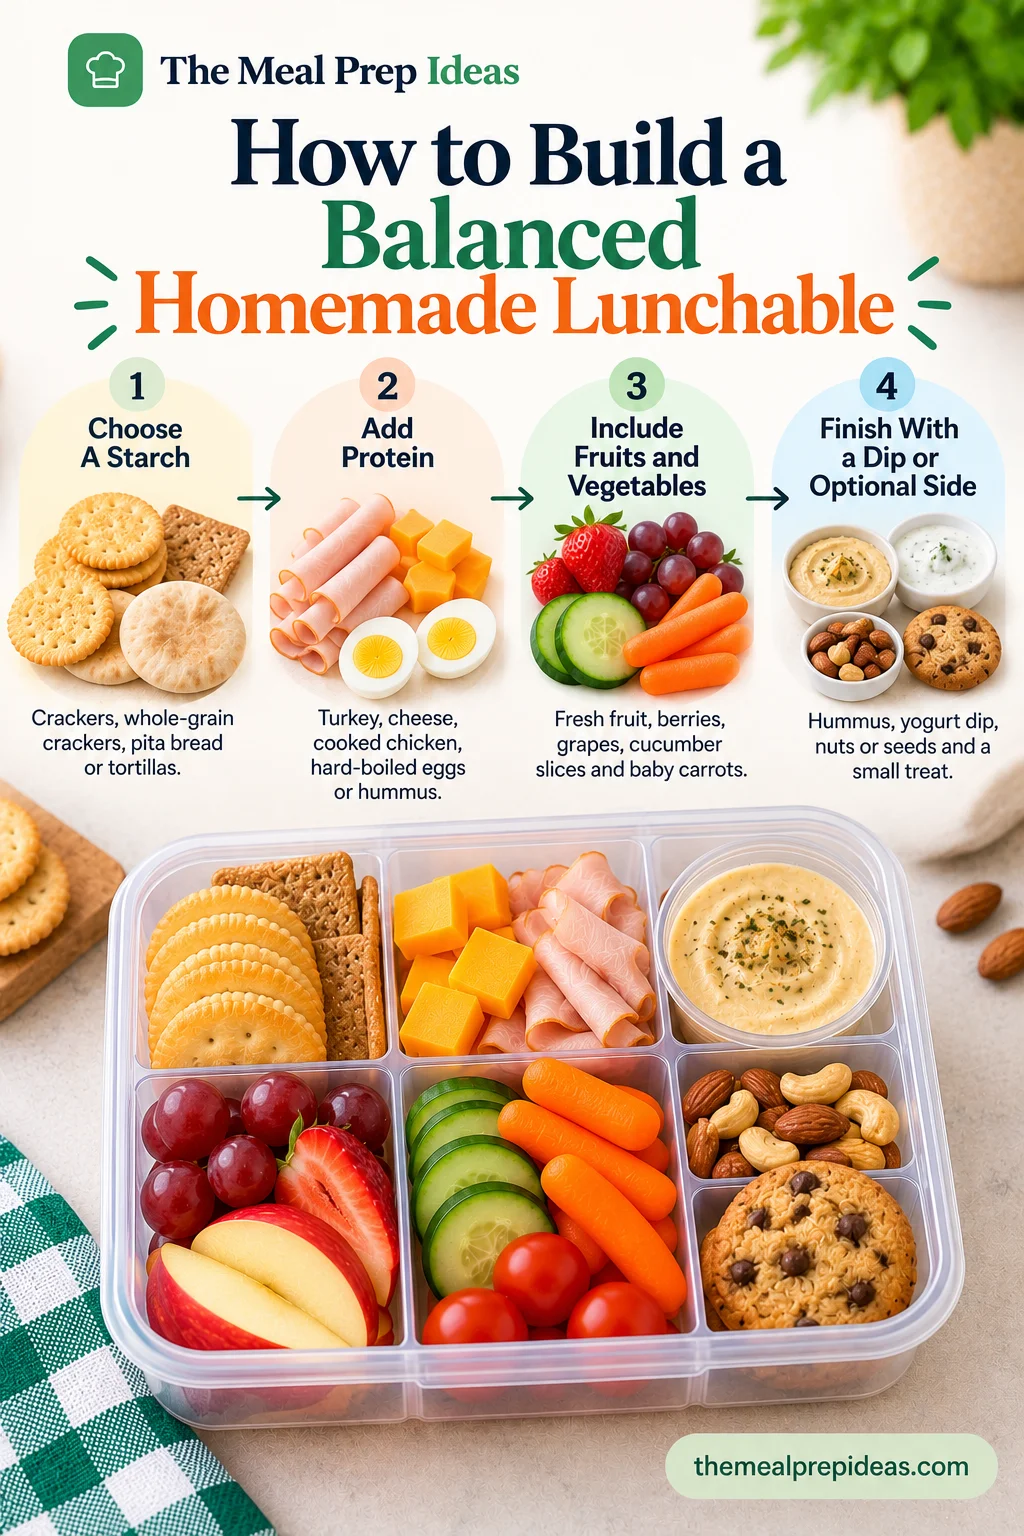
Building a balanced lunchbox is simple when you follow one easy formula: starch + protein + fruit or vegetables + an optional dip or side. This gives you a mix of foods without making lunch complicated. You can adjust the ingredients and portions based on age, appetite and food preferences.
Start with a base, such as crackers, whole-grain crackers, pita bread, or tortillas. These provide carbohydrates and pair well with different fillings and toppings.
Choose a protein source that fits your meal. Sliced turkey, cheese, cooked chicken, hard-boiled eggs and hummus are all easy options. Mix and match based on what you enjoy.
Add fresh produce to bring color, flavor and variety to your balanced lunchbox. Seasonal fruit, berries, grapes, cucumber slices and baby carrots are simple choices.
Complete your lunch with a small dip, such as hummus or yogurt dip, or add an extra side. A few nuts or seeds can provide healthy fats when suitable, while a small treat adds variety.
Optional Toppings
Estimated per serving (2 tacos):
Nutrition is an estimate and will vary based on the brands used, tortilla size, salt, and optional toppings. Verify these values with a nutrition calculator using the final ingredient quantities before publishing.
Making a Homemade Lunchable takes just a few simple steps. You can prepare one for school, work, or a quick lunch at home without spending much time in the kitchen.
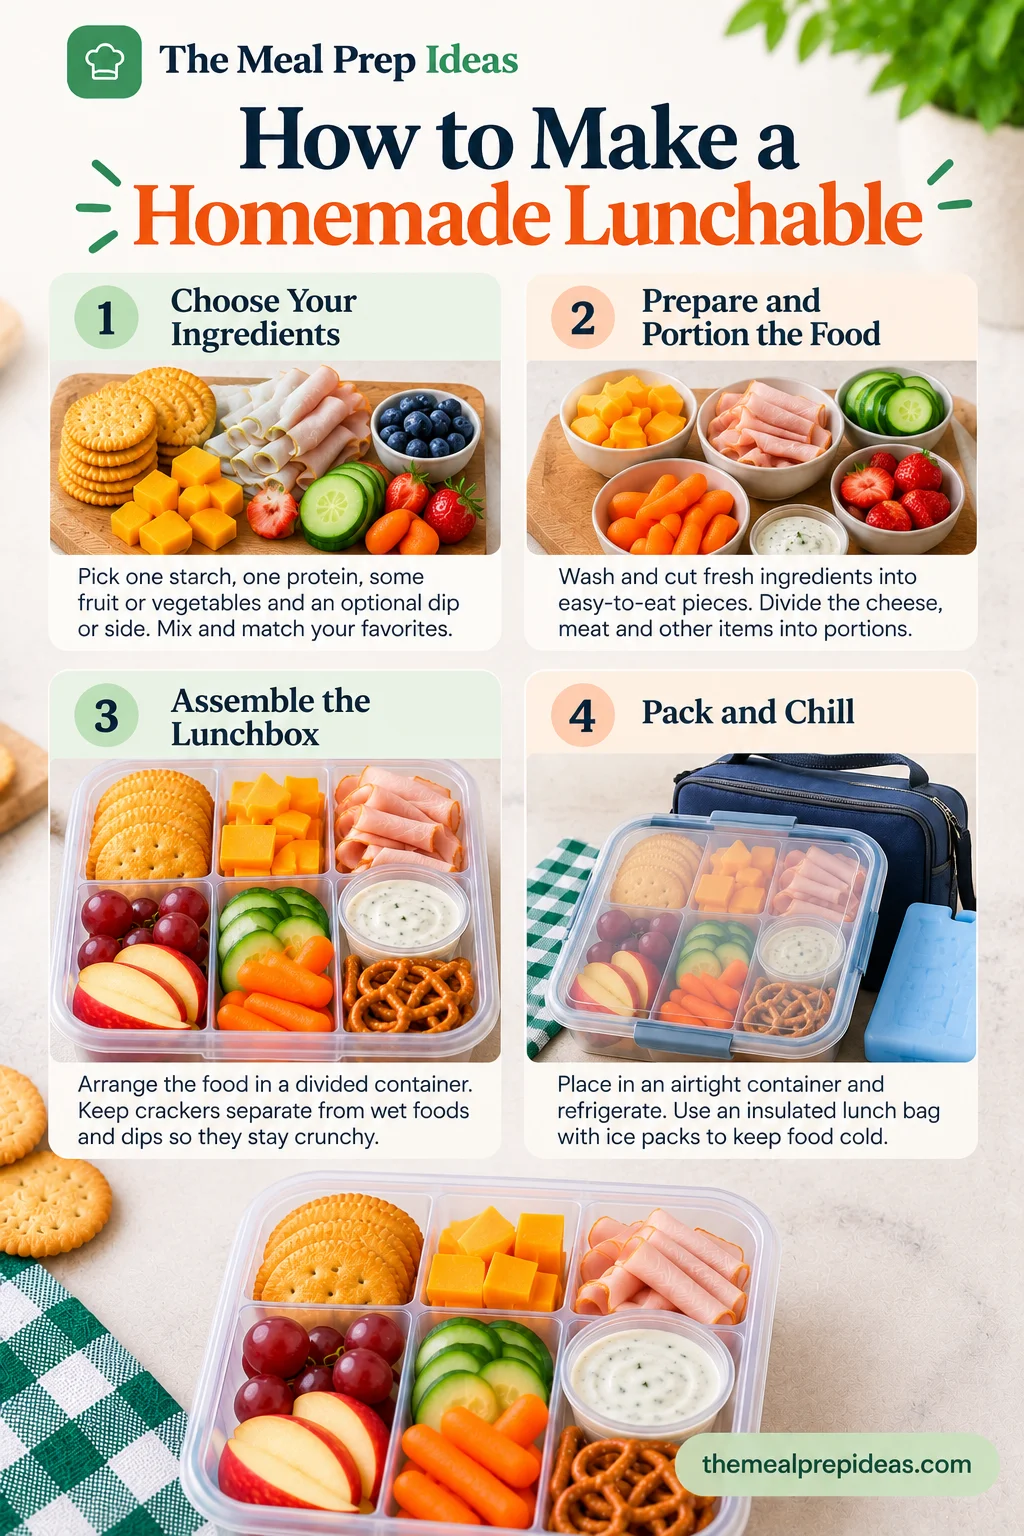
To make your own lunchable, pick one starch, one protein, some fruit or vegetables and an optional dip or side. Choose your family’s favorite foods and mix and match different combinations to keep lunch interesting.
Wash and cut the fresh ingredients into easy-to-eat pieces. Divide the cheese, meat, or other protein into suitable portions. Having everything ready makes it easier to prepare lunchboxes quickly.
Arrange the food in a divided lunch container, reusable lunchbox, or bento-style container. Keep crackers separate from wet foods and dips so they stay crunchy until lunchtime.
Place perishable ingredients in an airtight container and refrigerate promptly. When packing lunch for school or work, use an insulated lunch bag with ice packs to keep cold foods at a safe temperature until they are ready to eat.
One of the best things about this lunch idea is how easy it is to change the flavors. Here are five simple combinations you can prepare with everyday ingredients. Feel free to swap items based on what you have at home.
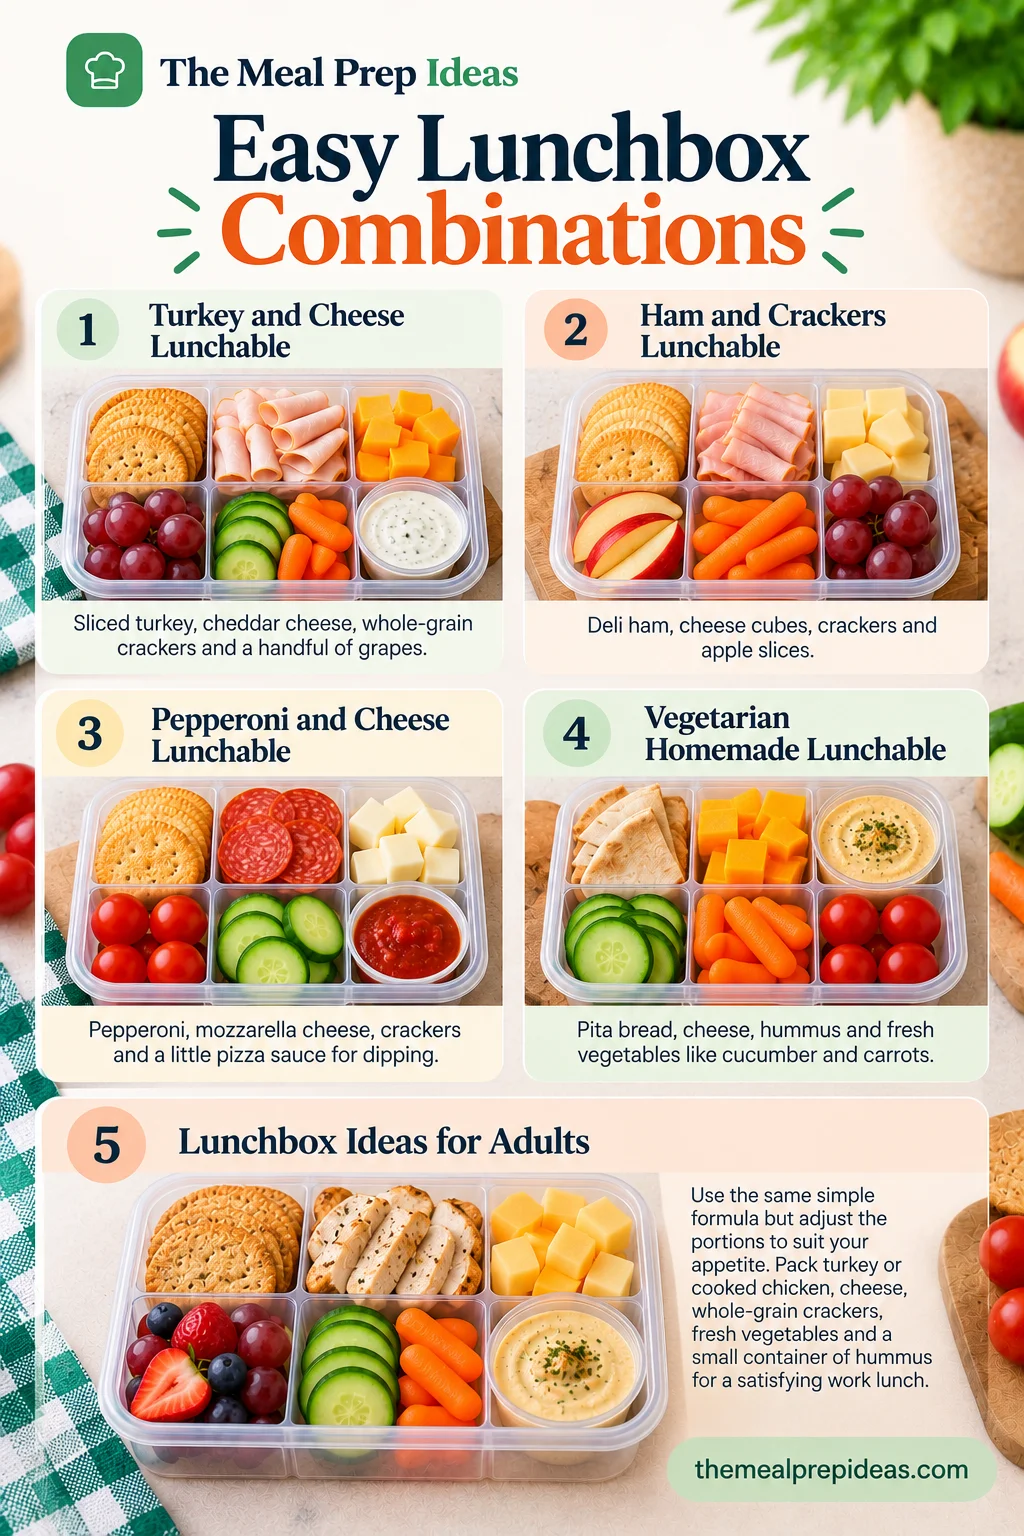
For a classic turkey and cheese lunchable, pack sliced turkey, cheddar cheese, whole-grain crackers and a handful of grapes. Keep the crackers in their own compartment so they stay crunchy.
A ham and crackers lunchable is a simple choice for busy days. Add deli ham, cheese cubes and apple slices to your lunchbox. Keep the ham refrigerated until packing and use an insulated lunch bag with ice packs when taking it to school or work.
For a pizza-style lunch, pair pepperoni, mozzarella cheese and crackers. You can include a little pizza sauce in a leak-proof container for dipping.
Make a Vegetarian Lunchbox Option with hummus, pita bread, cheese and sliced vegetables such as cucumber and carrots. It’s easy to customize with your favorite meat-free foods. For a simple homemade dip to pair with pita bread and fresh vegetables, try 5-Ingredient Garlic Hummus, which adds extra flavor to a vegetarian lunchbox.
For adult lunchboxes, use the same simple formula but adjust the portions to suit your appetite. Pack turkey or cooked chicken, cheese, whole-grain crackers, fresh vegetables and a small container of hummus for a satisfying work lunch. If you want another easy lunch to take to work, Turkey Avocado Wrap is a convenient option that you can prepare ahead and customize with your favorite fillings.
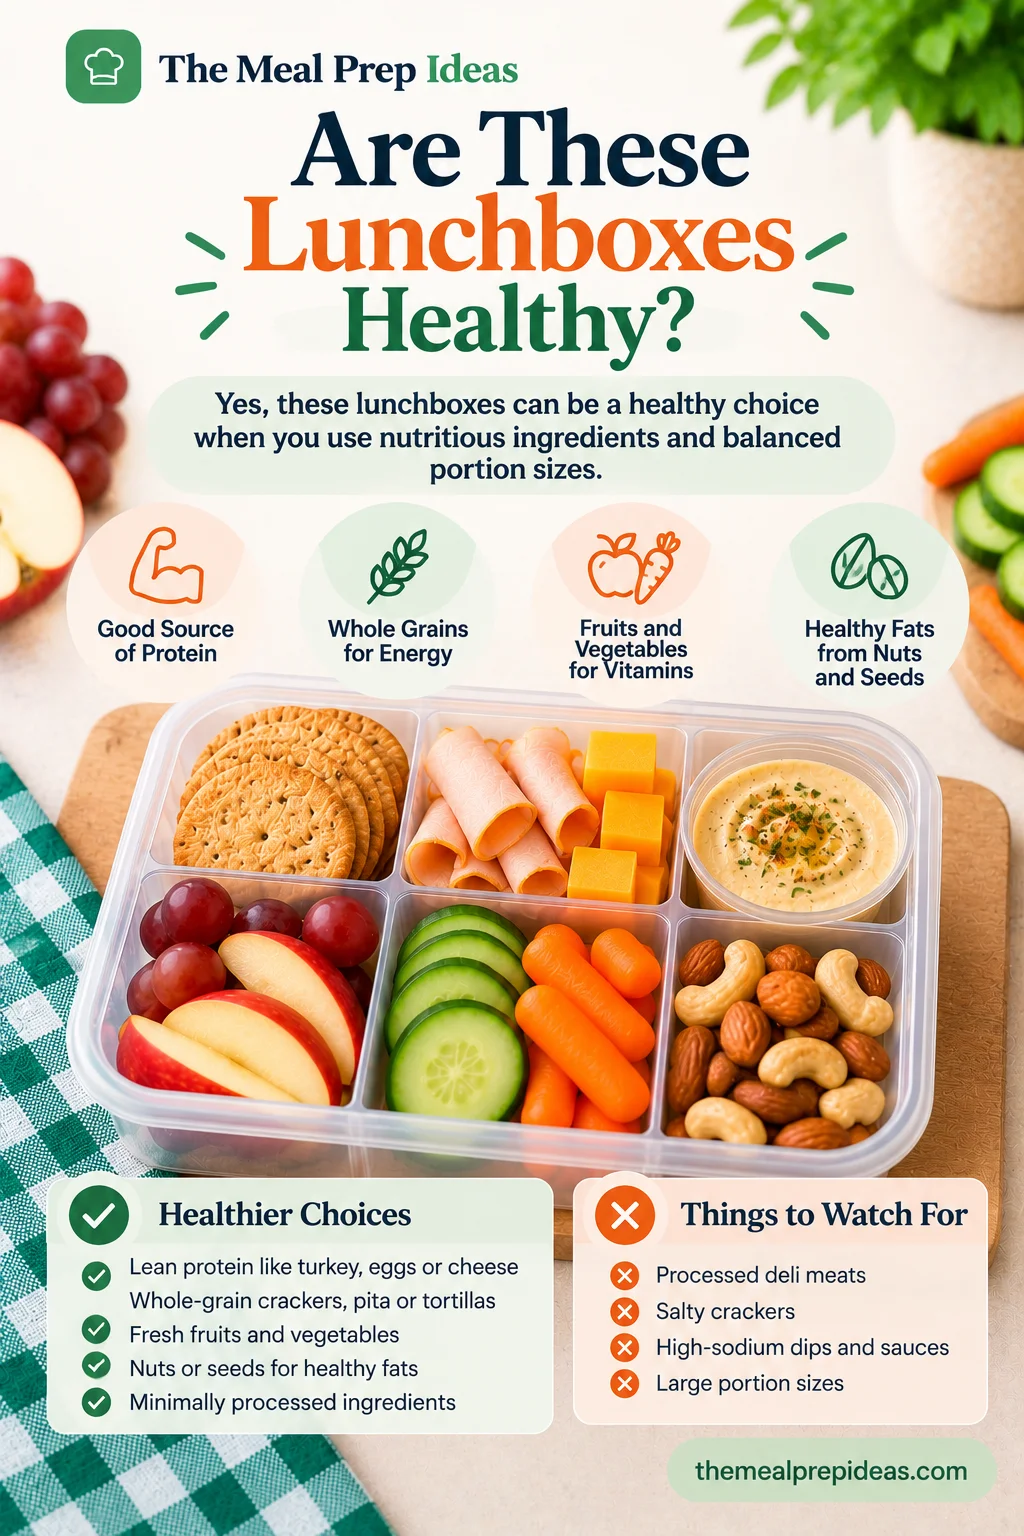
Yes, these lunchboxes can be a healthy choice, depending on the ingredients and portion sizes you use. Making them at home gives you more control over what goes into your lunch and makes it easier to build a balanced lunch.
For a nutritious school lunch or work meal, combine a protein source such as turkey, eggs, or cheese with whole grains, fruits and vegetables. You can also add foods that provide healthy fats, such as nuts or seeds, when suitable. Choose minimally processed ingredients when possible and include fresh produce for more variety. Keep in mind that not every combination is automatically healthy. Processed deli meats, salty crackers and heavy dips can add extra sodium. You can still enjoy these foods by balancing them with other ingredients to create a satisfying, filling lunch.
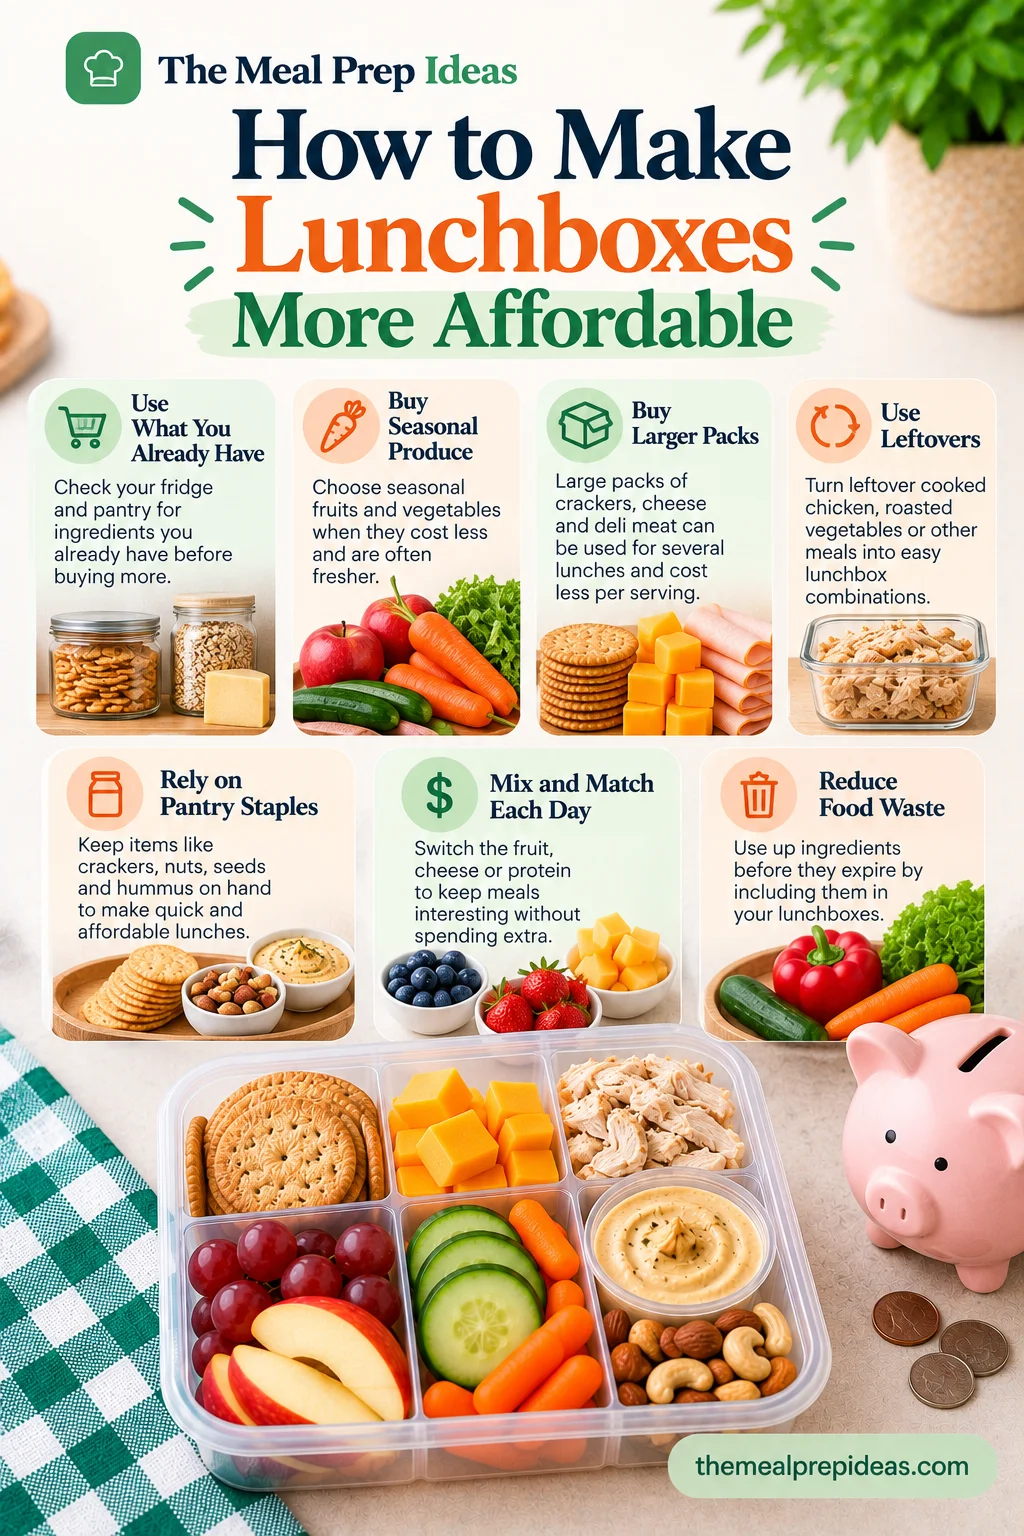
You don’t need expensive products to make affordable lunchboxes. Start with affordable lunchbox ingredients you already have and buy seasonal produce when it costs less. Large packs of crackers and cheese can be used for several lunches, while pantry staples help you build different combinations without extra shopping.
Leftovers are another easy way to save money on lunch. For example, pack leftover cooked chicken with crackers, cucumber slices and a piece of fruit for a quick lunch. You can also switch the fruit, cheese, or protein each day to keep meals interesting. These budget-friendly school lunch ideas help reduce food waste and make better use of your groceries. Compared with store-bought Lunchables, homemade versions let you choose ingredients and portions that fit your budget.
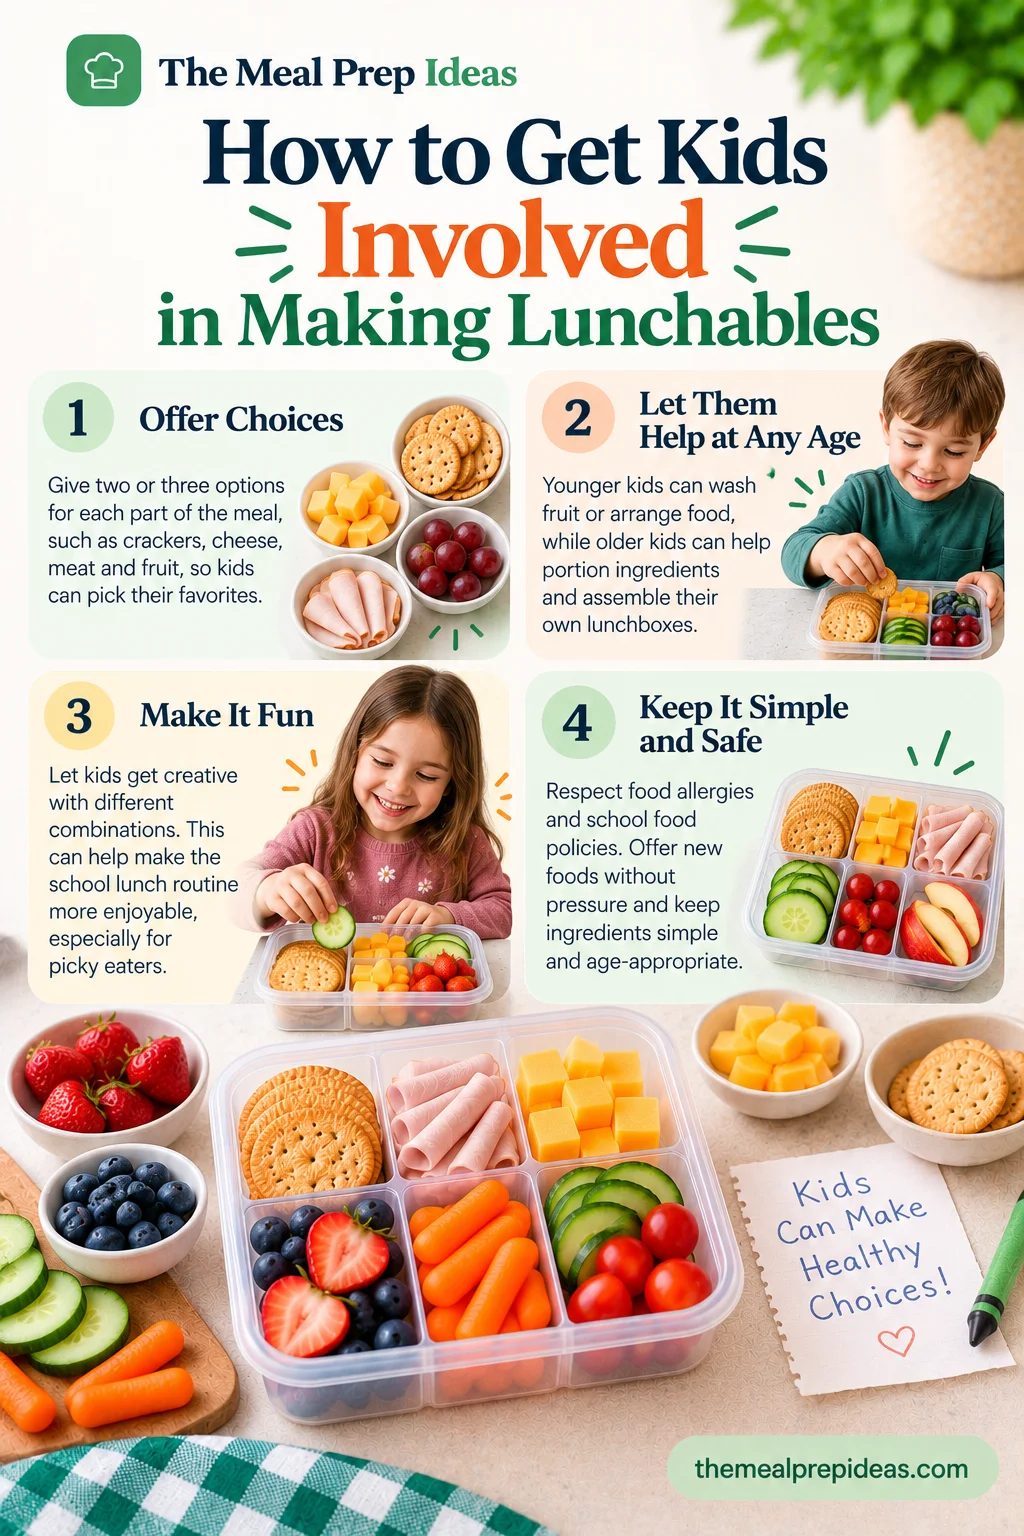
Let kids make their own lunchables by offering two or three choices for each part of the meal. For example, they can pick their favorite crackers, cheese and fruit to build a lunch they enjoy. Younger children can wash fruit or arrange food in a lunchbox, while older kids can help portion ingredients and assemble their own meals with age-appropriate supervision. This is a simple way to make the school lunch routine more fun, especially for picky eaters. Keep choices relaxed, respect food allergies and school food policies and let children try new foods without pressure.
Preparing lunch ahead of time can make busy mornings much easier. With a little planning, you can have several lunches ready to pack throughout the week.
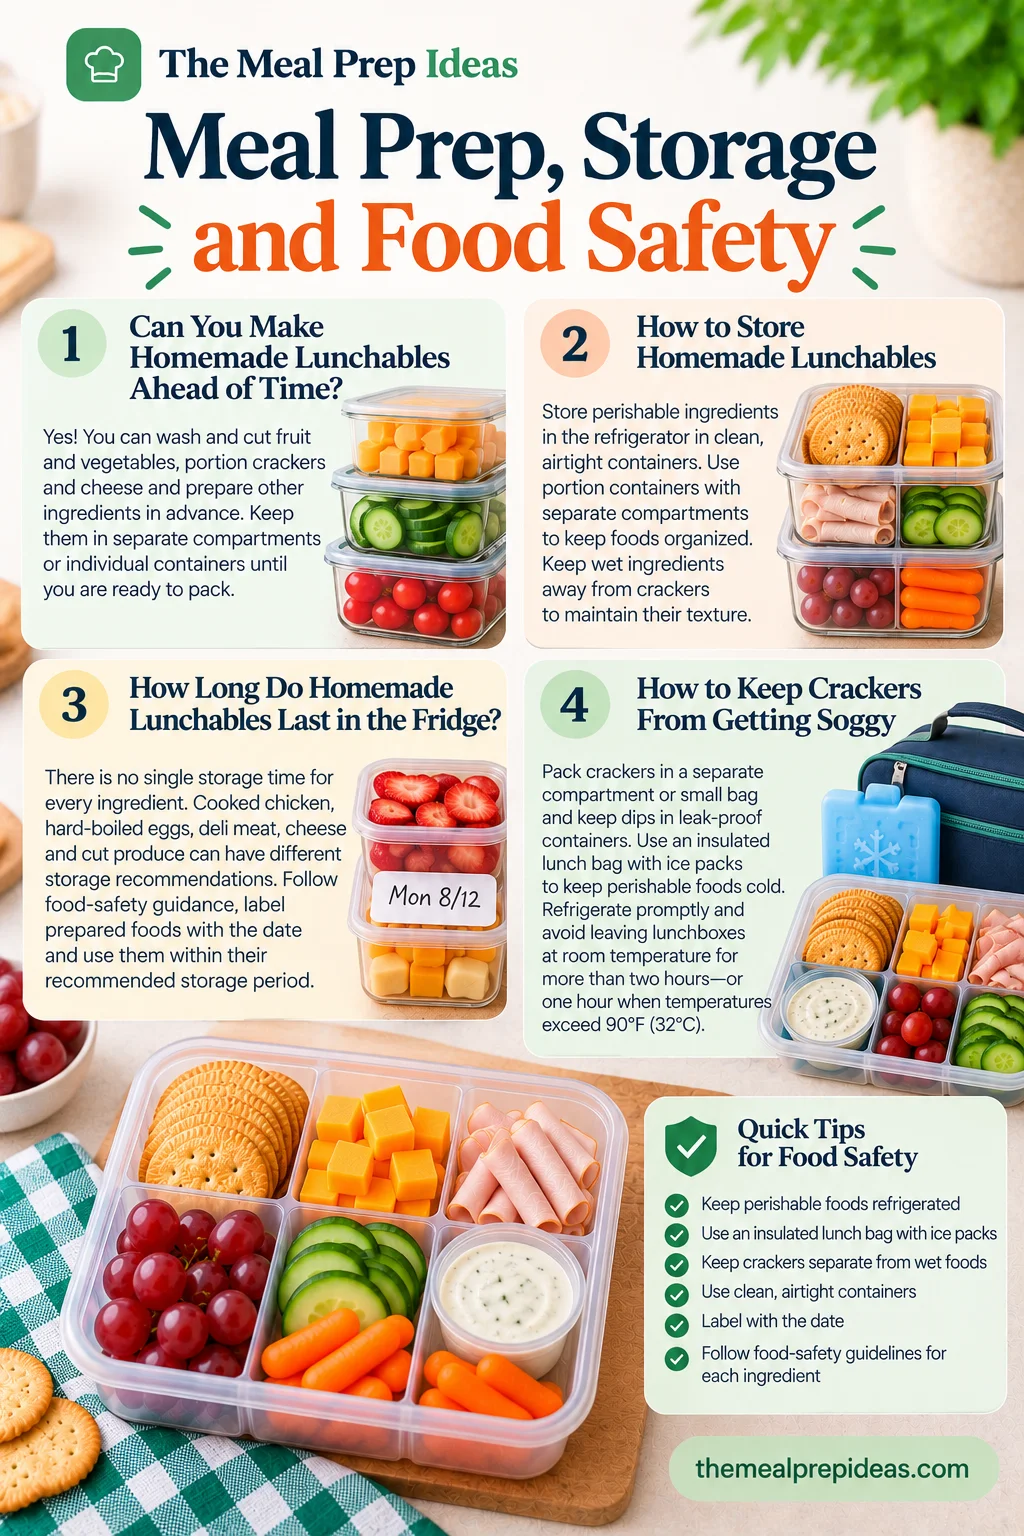
Yes! You can wash and cut fruit and vegetables, portion crackers and cheese and prepare other ingredients in advance. Arrange the foods in separate compartments or keep them in individual containers until you are ready to pack. This simple weekly lunch prep routine makes it easier to grab a ready-to-pack lunch on busy mornings.
Store perishable ingredients in the refrigerator in clean, airtight containers. Use portioned lunch containers with separate compartments to keep foods organized. Keep wet ingredients away from crackers to maintain their texture. Storage time depends on the ingredients, how they were prepared and how well they were refrigerated.
There is no single storage time for every lunchbox ingredient. Cooked chicken, hard-boiled eggs, deli meat, cheese and cut produce can have different storage recommendations. Follow food-safety guidance for each ingredient, label prepared foods with the date and use them within their recommended storage period.
Pack crackers in a separate compartment or small bag and keep dips in leak-proof containers. When taking lunch to school or work, use an insulated lunch bag with ice packs to keep perishable foods cold. Refrigerate perishable foods promptly and avoid leaving them at room temperature for more than two hours—or one hour when temperatures exceed 90°F (32°C).
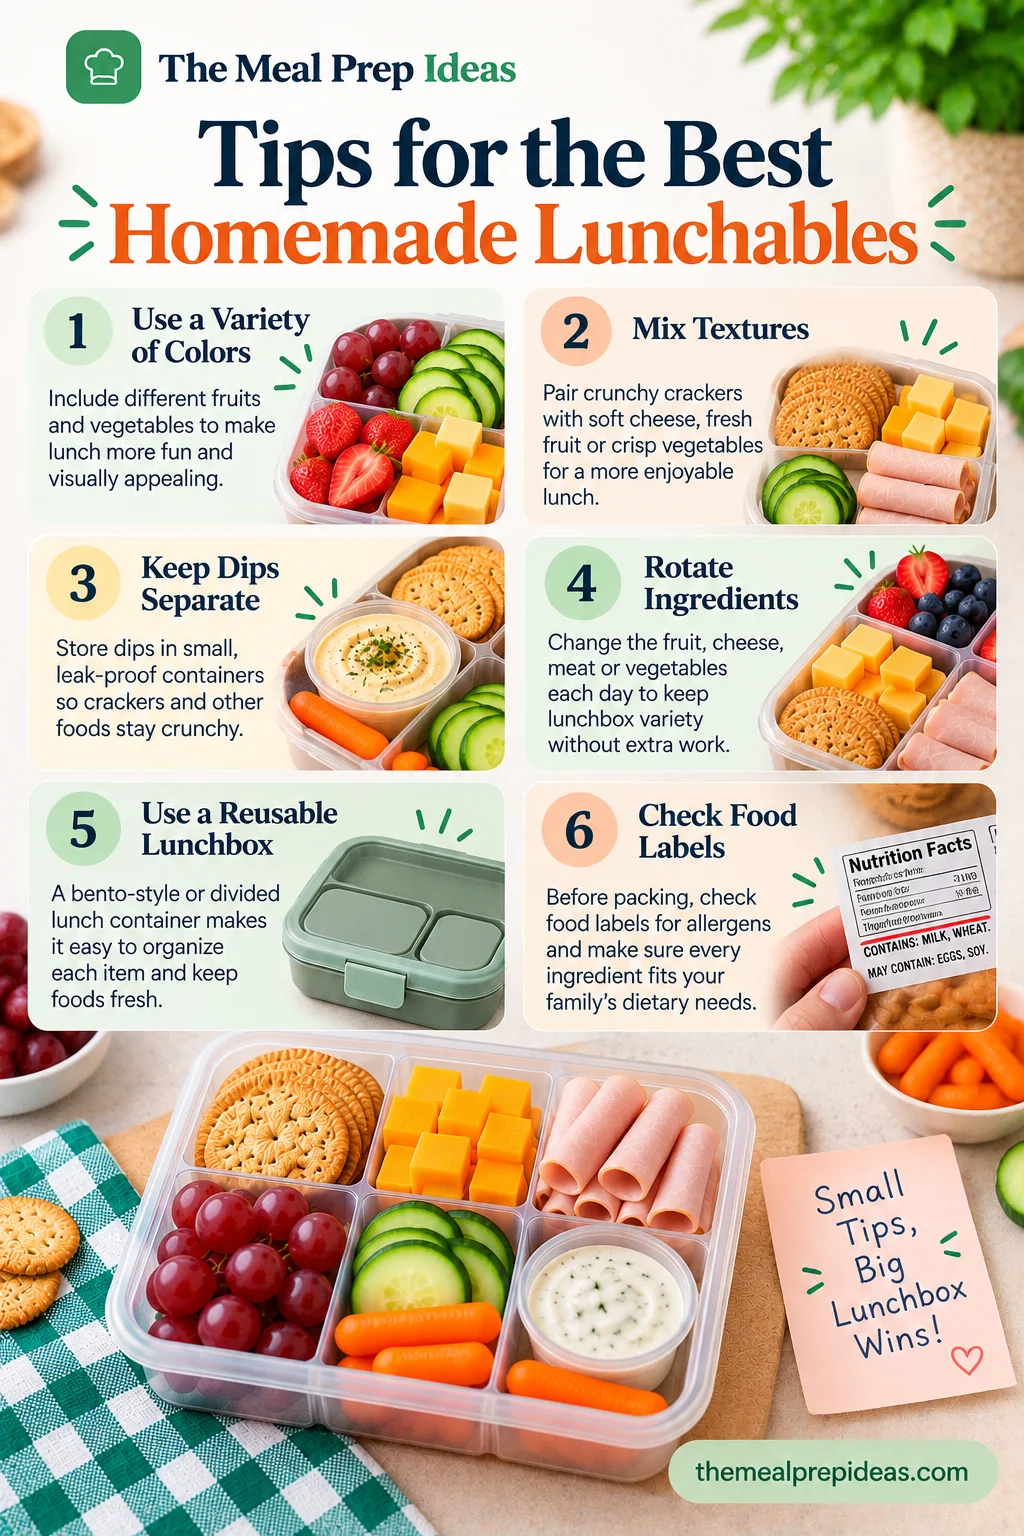
For the best Homemade Lunchable, combine different colors and textures to make lunch more fun to eat. Pair crunchy crackers with soft cheese, fresh fruit, or crisp vegetables. Keep dips separate so crackers stay crunchy and rotate ingredients based on what you have available. A reusable lunchbox or bento-style container makes it easy to organize each item. These small changes add lunchbox variety without extra work. Before packing, check food labels for allergens and make sure every ingredient fits your family’s dietary needs.
Healthy homemade lunchables can be a good alternative because you control the ingredients and portions. Pair protein, whole grains, fruits and vegetables to make a more balanced lunch.
To decide what to put in a homemade lunchable, follow a simple formula: crackers or bread, a protein, fruits and vegetables and an optional dip. For example, try whole-grain crackers, cheddar cheese, turkey, grapes and cucumber slices.
Use leftovers, pantry staples and seasonal produce to make cheap homemade lunchables. Buy multipurpose ingredients, such as crackers and cheese, that you can use for several lunches instead of purchasing special products.
Yes! A homemade pizza lunchable is easy to make with crackers, mozzarella cheese and pizza sauce packed separately. You can add pepperoni if you like, then assemble the pizza-style bites at lunchtime.
Absolutely! Adult lunchables are great for work. Pack a protein, crackers or pita bread, fresh vegetables, fruit and a dip. Adjust the portions to suit your appetite and create easy, satisfying work lunches.
Storage time depends on the ingredients and how they were prepared. Follow recommended refrigeration times for each food, keep perishable ingredients cold and use prepared foods within their safe storage periods.
Make a Homemade Lunchable with crackers, cheese, protein, fresh fruit, and veggies. Easy, budget-friendly lunch ideas for kids and adults!
the mealGood to know
Made this recipe?
Tag @themealprepideas on Instagram — we love seeing what you made.
Be the first to rate, review, or ask a question about this recipe.
1 rating
No comments yet
Be the first cook to share feedback or ask a question about this recipe!
Keep Cooking
Make easy Peanut Chicken Wraps with tender chicken, creamy peanut sauce, and crunchy vegetables. Ready in 15 minutes for a tasty lunch!

Make this easy Healthy Fried Rice with rice, eggs, fresh vegetables, and savory sauce for a quick, flavorful meal perfect for busy weeknights.

Make Mediterranean Chopped Salad With Chicken with juicy chicken, fresh vegetables, feta, Kalamata olives, and tangy homemade dressing. Ready in 30 minutes!
Join 50,000+ subscribers getting weekly meal prep ideas, shopping lists, and time-saving tips straight to their inbox.