Back to Recipe
Customize & Print
Sections to Include
Servings
Text Size
Color Theme
5.0 · 1 rating
Homemade Lunchable
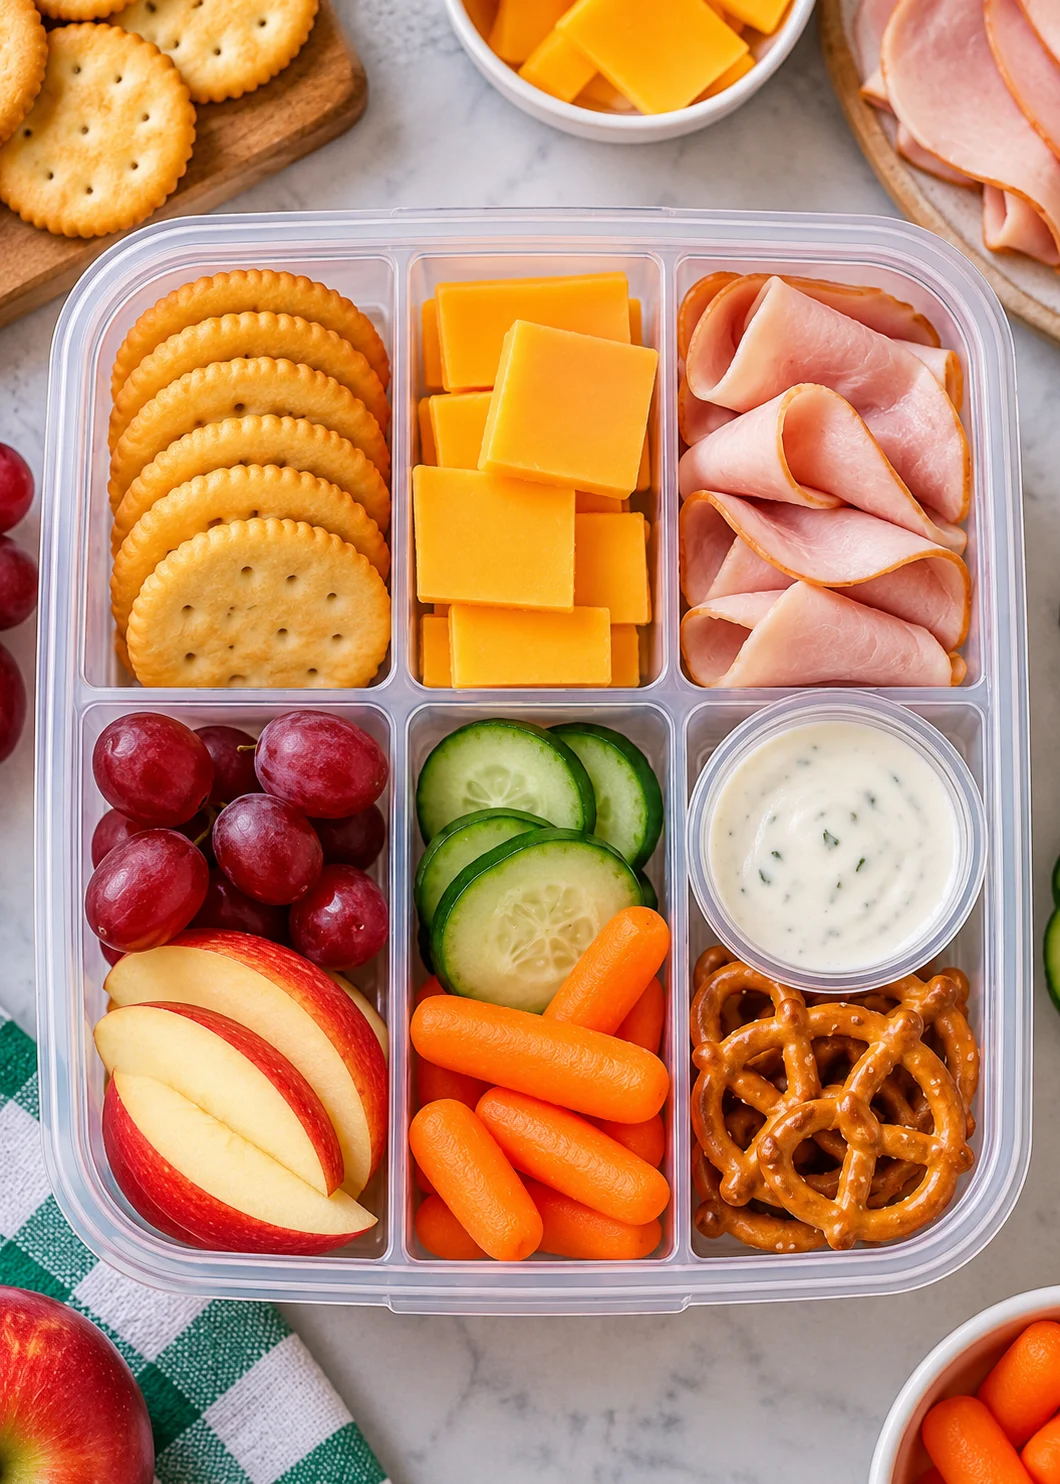
Make a Homemade Lunchable with crackers, cheese, protein, fresh fruit, and veggies. Easy, budget-friendly lunch ideas for kids and adults!
10 minutesPrep
15 minutesCook
25 minutesTotal
4 (8 tacos)Servings
Makes 4Servings
Ingredients
- 2 cans (15 oz each) black beans, drained and rinsed
- 1 tablespoon olive oil
- 1 small yellow onion, finely chopped
- 2 garlic cloves, minced
- 1 teaspoon ground cumin
- 1 teaspoon chili powder
- ½ teaspoon smoked paprika
- ¼ teaspoon cayenne pepper, or to taste
- ¼ teaspoon salt, or to taste
- ¼ teaspoon black pepper
- ¼ cup water or vegetable broth
- 8 small corn tortillas
- 1 tablespoon fresh lime juice
- ¼ cup chopped fresh cilantro
Instructions
- 1Sauté the onion: Heat the olive oil in a large skillet over medium heat. Add the chopped onion and cook for 3–4 minutes, stirring occasionally, until softened.
- 2Add the garlic and spices: Stir in the minced garlic, cumin, chili powder, smoked paprika, cayenne pepper, salt, and black pepper. Cook for about 30 seconds until fragrant.
- 3Cook the black beans: Add the drained black beans and water or vegetable broth. Stir well and cook for 5–7 minutes, gently mashing some of the beans with a spoon to create a thicker filling.
- 4Finish the filling: Remove the skillet from the heat. Stir in the lime juice and chopped cilantro. Taste and adjust the seasoning or spice level as needed.
- 5Warm the tortillas: Heat the corn tortillas in a dry skillet for about 20–30 seconds per side until warm and flexible. Keep them covered with a clean kitchen towel while preparing the tacos.
- 6Assemble the tacos: Divide the spicy black bean filling among the warm tortillas. Add avocado, salsa, shredded cabbage, or your favorite toppings.
- 7Serve: Serve immediately with fresh lime wedges and extra cilantro, if desired.
Notes & Tips
- Adjust the heat: Reduce the cayenne pepper for milder tacos or add extra for more heat.
- Avoid watery filling: Drain and rinse the black beans well. Add the water or broth gradually so the filling stays thick.
- Make them crispy: Fill the tortillas, fold them gently, and bake at 425°F (220°C) until crisp, flipping once. Baking time will depend on tortilla thickness and filling amount.
- Use flour tortillas: Small flour tortillas work well if you prefer a softer, more flexible taco.
- Make ahead: Prepare the black bean filling in advance and assemble the tacos just before serving for the best texture.
- Preparing lunch ahead of time can make busy mornings much easier. With a little planning, you can have several lunches ready to pack throughout the week.
- Yes! You can wash and cut fruit and vegetables, portion crackers and cheese and prepare other ingredients in advance. Arrange the foods in separate compartments or keep them in individual containers until you are ready to pack. This simple weekly lunch prep routine makes it easier to grab a ready-to-pack lunch on busy mornings.
- Store perishable ingredients in the refrigerator in clean, airtight containers. Use portioned lunch containers with separate compartments to keep foods organized. Keep wet ingredients away from crackers to maintain their texture. Storage time depends on the ingredients, how they were prepared and how well they were refrigerated.
- There is no single storage time for every lunchbox ingredient. Cooked chicken, hard-boiled eggs, deli meat, cheese and cut produce can have different storage recommendations. Follow food-safety guidance for each ingredient, label prepared foods with the date and use them within their recommended storage period.
- Pack crackers in a separate compartment or small bag and keep dips in leak-proof containers. When taking lunch to school or work, use an insulated lunch bag with ice packs to keep perishable foods cold. Refrigerate perishable foods promptly and avoid leaving them at room temperature for more than two hours—or one hour when temperatures exceed 90°F (32°C).
- For the best Homemade Lunchable, combine different colors and textures to make lunch more fun to eat. Pair crunchy crackers with soft cheese, fresh fruit, or crisp vegetables. Keep dips separate so crackers stay crunchy and rotate ingredients based on what you have available. A reusable lunchbox or bento-style container makes it easy to organize each item. These small changes add lunchbox variety without extra work. Before packing, check food labels for allergens and make sure every ingredient fits your family’s dietary needs.
VegetarianVeganDairy-freeGluten-free
themealprepideas.com/recipes/homemade-lunchable